It usually hits in June. Your state wants a record of the year, or a co-op asks for a portfolio, and you realize the evidence of nine months of learning is scattered across a kitchen drawer, three folders, and the bottom of a tote bag. The reading logs are somewhere. The attendance you meant to track never got tracked.
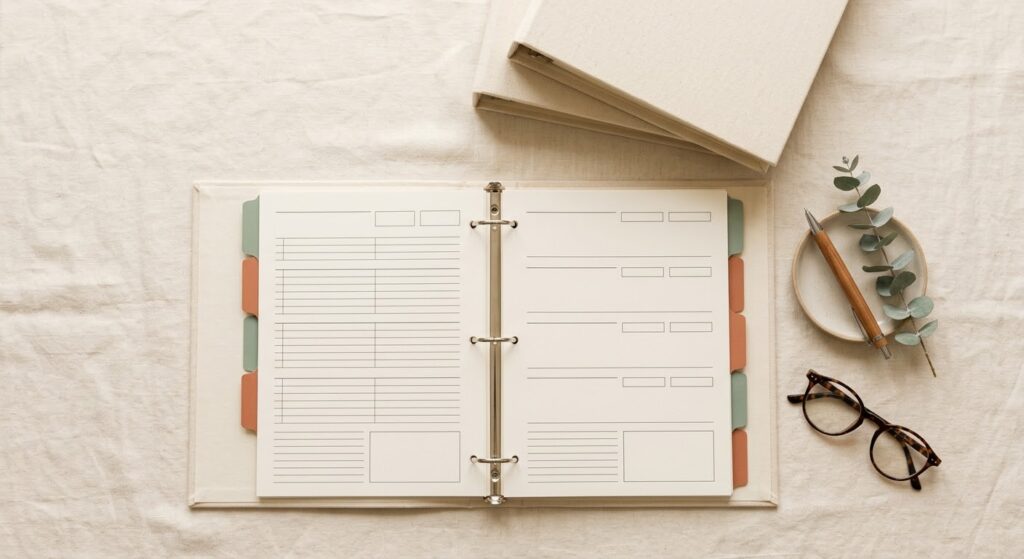
A homeschool binder fixes this before it starts. One place for the plan, the records, and the finished work, so the whole year holds itself together instead of living in piles. You don’t need a fancy setup or a label for everything. You need one binder and about an hour.
Here’s how to build one you’ll actually keep using past September.
Start With One Binder, Not Five
The mistake most of us make is building a separate binder for every subject and every kid on day one. It looks organized on Pinterest. By October it’s five half-empty binders nobody opens.
Start with a single binder for the whole family. A 1.5 or 2-inch three-ring binder holds a surprising amount, and a pack of sheet protectors keeps the pages you reach for most from tearing out. You can always split into more binders later, once you actually know what needs its own home.
One binder, a set of tab dividers, and a three-hole punch. That’s the entire shopping list to get started.
The Five Sections Every Homeschool Binder Needs
Tabs are what turn a binder from a pile-with-a-cover into a system. Five sections cover almost everyone. Add more only when a real need shows up.
1. Year at a Glance
The very front page is your map for the whole year. Term dates, the weeks you’re taking off, big goals, the rough plan for each subject. When a day goes sideways, this is the page that reminds you the year is still on track.
Keep it to one or two sheets. A wall calendar is great for the day-to-day, but the binder’s job is the bird’s-eye view you can flip to in ten seconds.
2. Weekly Plans
Behind the second tab go your weekly lesson plans, one page per week. This is where scattered notes on the fridge and the back of an envelope finally become an actual plan you can follow.
Print a stack at the start of the term and fill them in a week ahead. If you plan on Sunday for the week coming, Monday morning stops being a scramble.
3. Attendance and Records
Most states that regulate homeschooling want some proof you did the work — days of instruction, subjects covered, sometimes an assessment. A single attendance sheet you mark once a day takes fifteen seconds and saves you a frantic reconstruction in spring.
Not sure what your state actually asks for? Our guide to homeschool laws by state lays out the record-keeping rules so you know exactly what to keep in this tab.
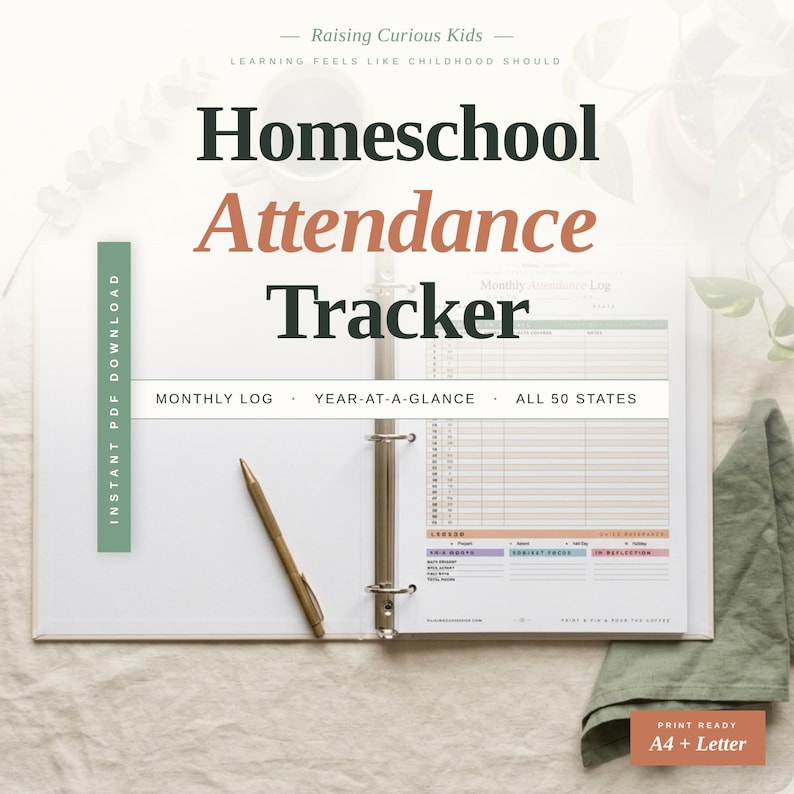
Done-for-You: Homeschool Attendance Tracker
This tab is easiest when the sheet is already made. Our printable attendance tracker gives you a clean, undated log for the whole year that punches right into your binder. Print it once, mark it in fifteen seconds a day, and your records tab is handled long before June arrives.
4. Finished Work and Portfolio
Pick a few pieces each month that show real progress — a piece of writing, a math page that finally clicked, a drawing your kid was proud of. Slip them behind this tab. You’re not saving everything, just enough to tell the story of the year.
This is the tab that saves you in June. When someone asks for a portfolio, it’s already sitting in your binder instead of lost in a drawer.
5. Reference and Someday
The last tab is the catch-all: curriculum notes, book lists, the field-trip ideas you keep meaning to plan, the login for your math program. One home for the odds and ends means they stop cluttering every other section.
Review this tab every few months and clear what you never used. A reference section only helps if you can find things in it.
Set Up a Simple Binder Station
Your binder works best when it lives somewhere you pass a dozen times a day, not buried on a shelf. A small landing zone in the kitchen or the corner you school in keeps it in reach and keeps the paper flow moving toward it instead of onto the counter.
A wall file organizer catches incoming papers — permission slips, worksheets, the thing that needs signing — before they hit the binder, so filing becomes a once-a-week habit instead of a daily flood. A cork board beside it holds the week in view, and a magnetic wall calendar gives everyone the month at a glance right next to where the binder lives.
If your whole space needs a reset and not just the paperwork, our homeschool organization ideas and the guide to building a family command center pair well with a binder station.
Want the pages ready to go?
Our printable homeschool planners, year-at-a-glance sheets, and attendance trackers drop straight into your binder — pretty enough to leave on the counter, simple enough to actually use.
Handle the Overflow Before It Buries You
A binder holds the current year. It is not where three years of finished worksheets go to live, or the whole box will bulge and split by spring.
At the end of each year, move the keepers into an archive. A file box with a hanging folder per child keeps past years accessible without weighing down the binder you use every day.
The One Habit That Keeps It Working
No binder survives on setup alone. The thing that keeps it alive is a five-minute weekly filing session — papers in, next week’s plan out, attendance caught up. Sunday evening works for a lot of families because it sets up the week ahead.
Tie it to something you already do so it doesn’t become one more task to forget. Filing while the coffee brews, or right after the kids are down, means it actually happens. Miss a week and you’re fine. Miss a month and you’re back to the June scramble.
Let the Kids Own Their Part
Older kids can file their own finished work and check off their own attendance. It takes the load off you and gives them a small sense of running their own learning.
Give a seven-year-old the job of sliding today’s best page into the portfolio tab, and it becomes a two-second ritual instead of a pile you deal with alone. Match the task to the age and keep it visible.
Just Build the Front Page First
You don’t have to assemble the whole thing this weekend. Punch a binder, add five tabs, and fill in the first page — the year at a glance. That one sheet does more to steady your week than a perfectly labeled system you’re too tired to finish.
The binder isn’t about looking organized. It’s about knowing, in June and every month before it, exactly where the year lives. Start with the front page and let the rest fill in as you go. For the bigger picture of getting ready, our back to homeschool planning guide walks through the rest of the season.